3. Remote Virtual Machine
In this section you will learn how to setup a virtual machine and access it via the Azure Portal. You will then create a globally accessible static webpage with Nginx.
Before starting on this section, make sure that you have access to the Azure Portal at https://portal.azure.com. You should have received an email inviting you to join an Azure Resource Group for the purposes of this course. You will have access to these resources for 72 hours.
Create the VM
You will need to log into the management portal via www.portal.azure.com. You should have received an email inviting you to join the training subscription.
Azure Issue (21/11/2022)
Unfortunately, the path below for using the ‘Create a resource’ page is broken. Currently, when trying to click ‘Create’ on any offerings you’ll get a perpetual loading animation at the top of the page. This is an issue with Microsoft and not with any of your devices. Feel free to test the path below first as this could be fixed on the day of the workshop or sometime in the future.
Alternative instructions:
- In the search bar located at the top of the page, type ‘virtual machines’ (don’t hit enter!)
- Select ‘Virtual machines’ under the ‘Services’ section
- You should have no virtual machines visible so click ‘Create’ and select ‘Azure virtual machine’
- Now you should be able to follow the rest of the documentation, starting from “Select the Ubuntu Server 20.04 LTS…”
After logging into the account, click “Create a resource”, and select the “Compute” category. Here you will see a selection of popular products, feel free to have an explore of the Marketplace to see what could be on offer. This is where you will find different VM pre-configured images and configurations. The images in the tab will consist of official images from Independent Software Venders, Microsoft partners, selected partners like Red Hat, and Microsoft.
Select the Ubuntu Server 20.04 LTS and select Create.
Enter the following details:
- Subscription: Azure NCE
- Resource Group: rseCloudExplainTraining
- Virtual machine name: myfirstvm-<initials>
- Region: UK South
- Size: Standard_D2s_v3
- Authentication type: Password
- Please enter a username and password. You will need these later so make sure you save them.
- Public inbound ports: Allow selected ports
- Select inbound ports: HTTP (80), HTTPS (443), SSH (22)
Please review all other tabs but leave them as default. You will see that it is possible to customise your VM with additional Disks, specific Network rules, etc.
Once you have reviewed all the settings, in the Review + create tab click Create.
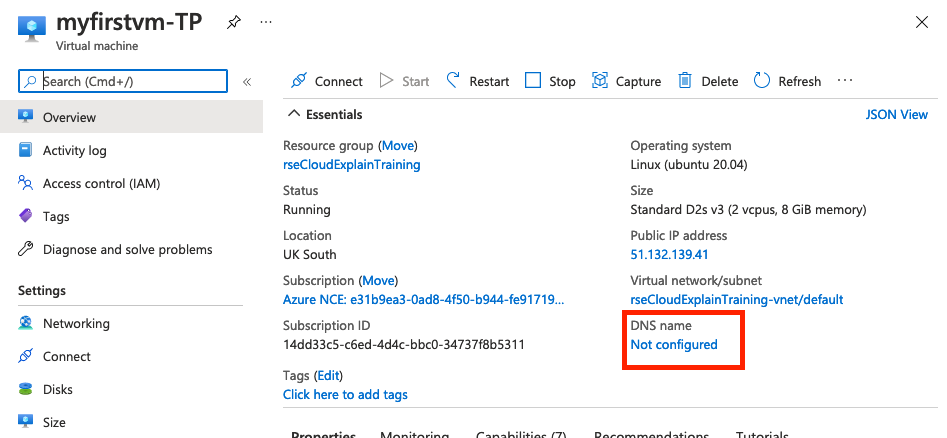
After a few minutes the virtual machine and all necessary resources will be created. Click Go to resource and have a look at the virtual machine Overview tab. You should see that the status is set to “Running”, you should also see that your VM has a Public IP address, take note of this as we will use it later.
Using your VM
If you prefer to use your local bash terminal please proceed to Connecting to your VM.
Setting up Azure Cloud Shell
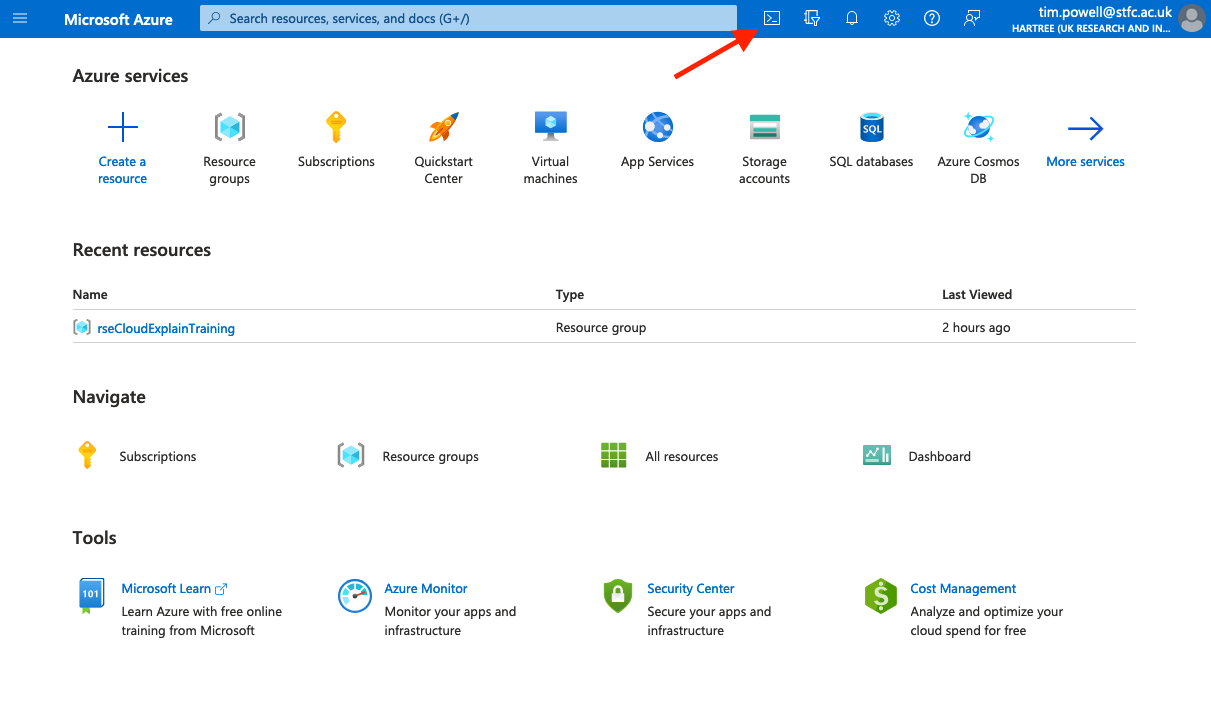
In the tool bar at the top of the Azure Portal, click on the Cloud Shell icon.
You will receive a prompt stating that “You have no storage mounted”. Click Show advacned settings and enter the following details:
- Subscription: Azure NCE
- Cloud Shell region: North Europe
- Resource group: select ‘Use existing’ and choose CloudShellStorage
- Storage account: select ‘Use existing’ and choose ‘explaintraining’
- File share: select ‘Create new’ and enter your name in lower case with no spaces, i.e. timpowell
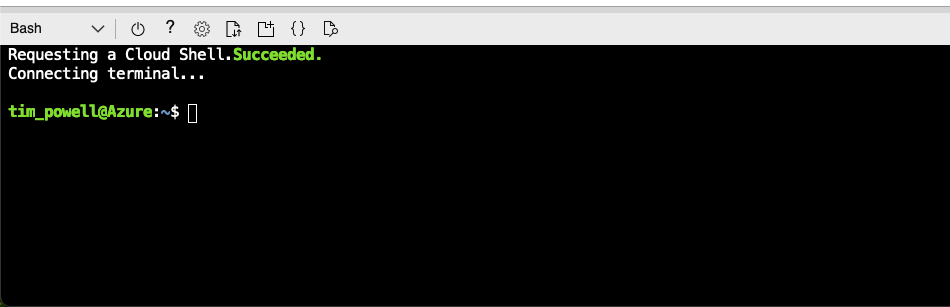
Once the storage has been created you will be given an option between “Bash” and “PowerShell”. Select Bash.
You will now see that you have a terminal in the cloud. We are going to use this to access our Ubuntu VM.
Connecting to your VM
Remember your Public IP Address from earlier? It is time to use it to login in to your VM.
Either in the Cloud Shell or in your own terminal enter the following, but replacing the words in < > with your own.
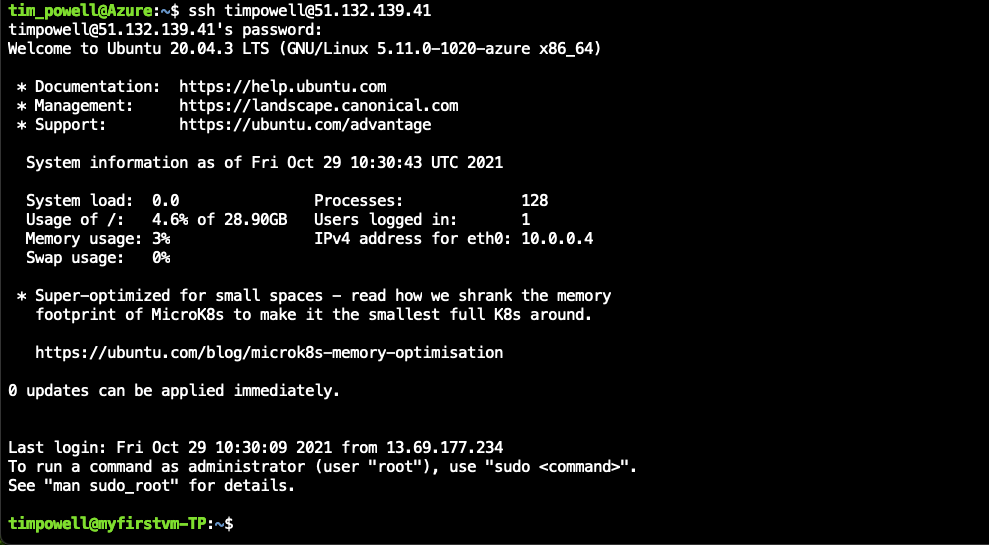
ssh <USERNAME>@<IP-ADDRESS>
You will be told that the authenticity of the host can’t be established and asked if you want to continue, type yes and press enter. You will now be asked for the password that you setup up when creating your VM.
You are now connected to your Ubuntu virtual machine!
Using the same ssh command as above you could now connect from anywhere in the world to your Ubuntu server. Now lets do something with your new VM!
Create an Nginx webpage
Continuing in the Cloud Shell or your own terminal we are going to create a deploy a static Nginx webpage.
To install Nginx with the following:
sudo apt-get update
sudo apt-get install -y nginx
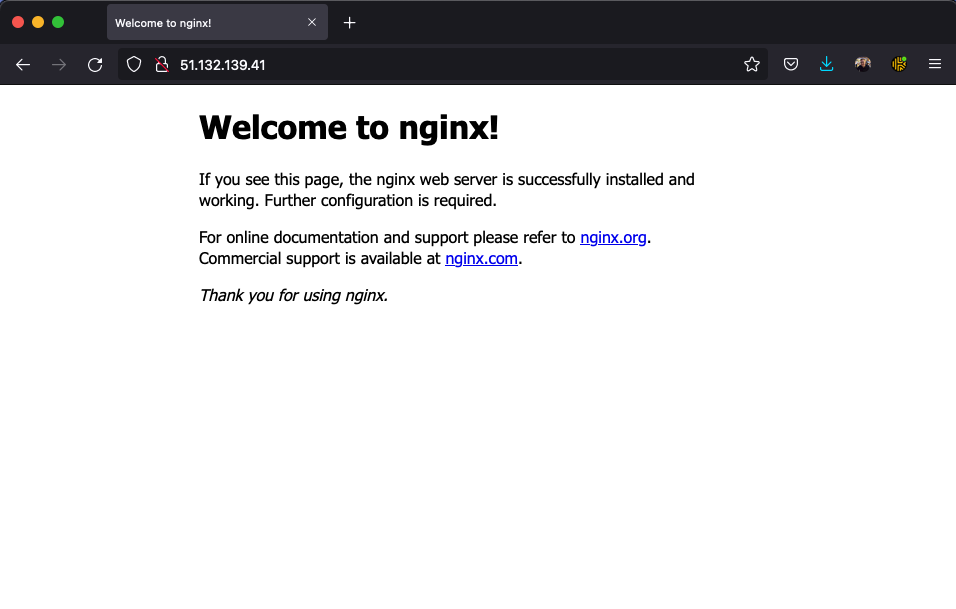
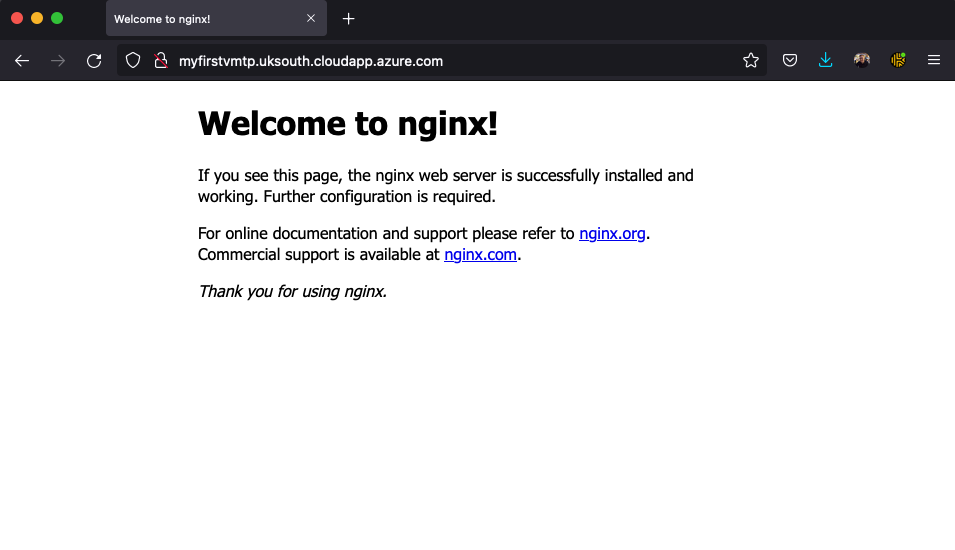
As we already have opened the HTTP port during the creation of the VM, you should be able to see the default Nginx page by typing your VM’s Public IP Address into your web browser.
Typing an IP address into your browser is quite an unusual way to access a webpage, let’s make it more user friendly. Navigate back to your the VM Overview panel in the Azure Portal. From here you can configure a custom DNS for your VM, not only will this make your webpage more user friendly, it is also required for the SSL certificate setup.
Under “DNS name”, click Not configured. Under “DNS name label”, it is recommended to continue the same naming convention as your virtual machine, input myfirstvm-<initials>. Click Save in the top bar.
Your Nginx webpage hosted on your VM should now be accessible by http://myfirstvm-<initials>.uksouth.cloudapp.azure.com. Give that a try now!
Customise your webpage
So far we have deployed the default Nginx webpage, now let’s make your own!
First, create a simple HTML page in /var/www/mtfirstvm:
sudo mkdir /var/www/myfirstvm
cd /var/www/myfirstvm
sudo vi index.html
You are now in the text editor VIM. This is a command line text editor that allows you to create and edit files, in this case index.html. Press i to enter ‘INSERT’ mode. Then type or paste the following into index.html:
<!doctype html>
<html>
<head>
    <meta charset="utf-8">
    <title>My First VM</title>
</head>
<body>
    <h1>Hello, Explain Course Attendees!!</h1>
    <p>We have just configured our Nginx web server on Ubuntu Server!</p>
</body>
</html>
Get Creative!
This is your chance to get creative! You can replace the content between <body> and </body> with your own HTML code. You can either write this yourself or use an online HTML builder such as html5-editor.
To save the file, press ESC to exit ‘INSERT’ mode, then type :wq and press Enter. This will save and quit the file.
Now that you have created your webpage, you need to set up a virtual host to make Nginx use pages from /var/www/myfirstvm. To do this we create a file in /etc/nginx/sites-enabled/.
cd /etc/nginx/sites-available/
sudo vi myfirstvm
You are now in the text editor VIM and editing the file myfirstvm. Press i to enter ‘INSERT’ mode. Then type or paste the following (don’t forget to edit the server_name to make yours):
server {
       listen 80;
       listen [::]:80;

       server_name myfirstvm-<initials>.uksouth.cloudapp.azure.com;

       root /var/www/myfirstvm;
       index index.html;

       location / {
               try_files $uri $uri/ =404;
       }
}
To save the file, press ESC to exit ‘INSERT’ mode, then type :wq and press Enter. This will save and quit the file.
root is a directory where we have placed our .html file. index is used to specify file available when visiting root directory of site.
Then remove the existing default setup by deleting the current default file and creating a symlink to your new configuration.
sudo rm /etc/nginx/sites-enabled/default
sudo ln -s /etc/nginx/sites-available/myfirstvm /etc/nginx/sites-enabled/myfirstvm
Finally, to load your custom site, simply restart the Nginx service:
sudo service nginx reload
Your new custom Nginx webpage hosted on your VM should now be accessible by http://myfirstvm-<initials>.uksouth.cloudapp.azure.com. Give that a try now!
Install Certbot
You will now use Certbot with Nginx configuration which is an implementation of the ACME protocol for Letsencrypt to install HTTPS.
sudo apt-get install -y software-properties-common
sudo apt-get install -y python3-certbot-nginx
sudo certbot --nginx --register-unsafely-without-email
Using SSL in the Wild
Normally, when registering an SSL certificate using Certbot, you would remove the --register-unsafely-without-email flag. The reason for using it here is to save you from receiving unnecessary emails in the future.
Follow the on screen instructions, when the instructions ask for your domain name, this is what you configured the ‘DNS name’ to be. When asked if you’d like to redirect HTTP traffic to HTTPS, select the redirect option.
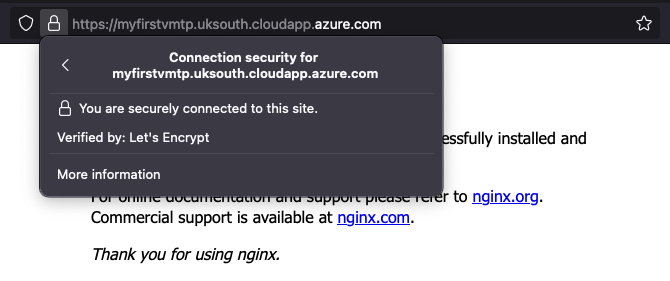
Your VM should now be accessible by https://myfirstvm-<initials>.uksouth.cloudapp.azure.com. Give that a try now! If you click on the lock in the address bar, you should see that the certificate is issued by Let’s Encrypt.
Show off your webpage
When you have completed all of the above, posted a link to your webpage in the Zoom chat. Also, take this chance to see what other members of the course have created.